The term Biscuit firing (or Bisque firing, as often used refers to the initial firing of pottery before it’s coated with glaze. The majority of pottery undergoes a bisque firing and is then fired once more to melt glaze and bond with the body of clay.
What is Bisqueware in Ceramics?
Bisque firing is a popular kind of firing and is hugely significant. It makes the pottery an impervious state to glaze. This allows the potter to perform more intricate work with underglazes, stains, and glazes, with a much lower risk of damage to the pot.
Because the bisque fire is heated slower, it also decreases the chance of the pots breaking or exploding during the firing of glazes.
Bisque firing is a slow process. The kiln temperature increases in the early stages because the most critical point is when the chemically bonded water molecules are taken out of the clay.
What Kind of Kiln Do You Bisque In?
Although you can use bisque fire using either fuel-burning or electric kilns, electric is more preferred. The primary reason is that the temperature and settings that an electric oven can achieve are more manageable.
Fuel-fired kilns, like those that use propane or natural gas, tend to increase temperature faster. This is due to the volume of fuel required to go through the fuel nozzle to keep the burner in flame.
What is the Purpose of Bisque Firing?
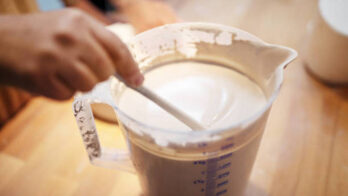
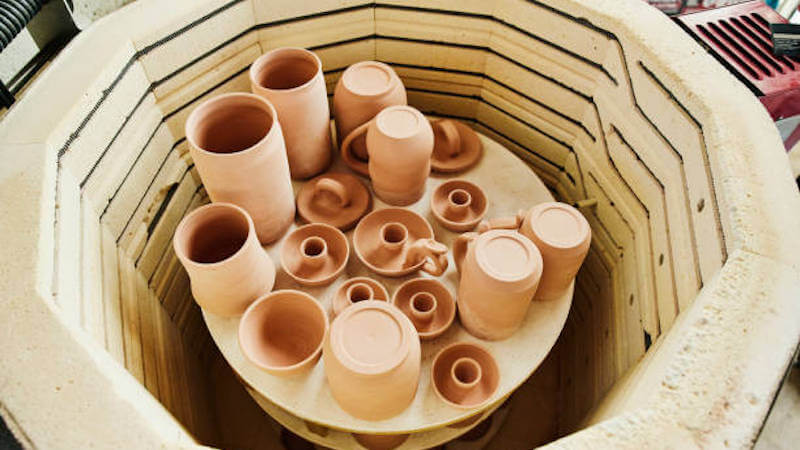
Bisque Firing is used to transform raw greenware clay (unfired pottery clay) into a porous and durable state known as ceramic in preparation for the second stage of firing. Applying Underglazes and Glazes without damaging or cracking the piece is possible thanks to this procedure.
Bisque Chemistry
The bisque firing takes place in the low-fire range. The clay loses its water and carbon content, and the carbon and clay particles are fused together. You can no longer add water to the clay and reshape the object at this point; it has already taken on its final form.
Because it’s made of a hard material, but it’s also porous, it can absorb a small amount of water from the glaze. Fire can then melt and fuse this glaze because of this. The bisque stage is an intermediate step when an object is going to be glazed.
The Bisque Firing Process – A Guide to the Ramp and the Firing Schedule
The words “firing timetable” and “firing ramp” are inextricably linked. They refer to the speed of firing accomplished, including heating, soaking duration and cooling. The timing of the bisque firing is vitally important.
When firing bisque, it is unnecessary to soak, and the ramp (the increment in which the kiln’s temperature is changing) must be extremely slow. The rate of the ramp is typically expressed in degrees per hour.
Ensure that you are using the right temperature to fire the glazes and clay you’ve used. Every kiln is unique. However, generally speaking, the firing schedule should look like the following:
- Overnight warm-up at low temperatures.
- Two hours at low temperature (an increase of temperature that is not greater than 200 deg F per hour)
- Two hours of moderate temperatures (an increment in the temperature not greater than 300 deg F per hour)
- High temperature (a rise in temperatures between 300 and 400 degrees Fahrenheit per hour) until the desired temperature is reached.
The Overnight Warm-Up
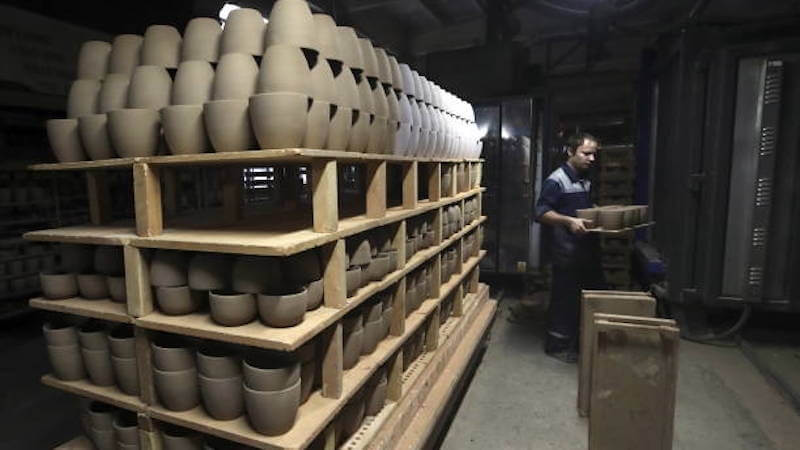
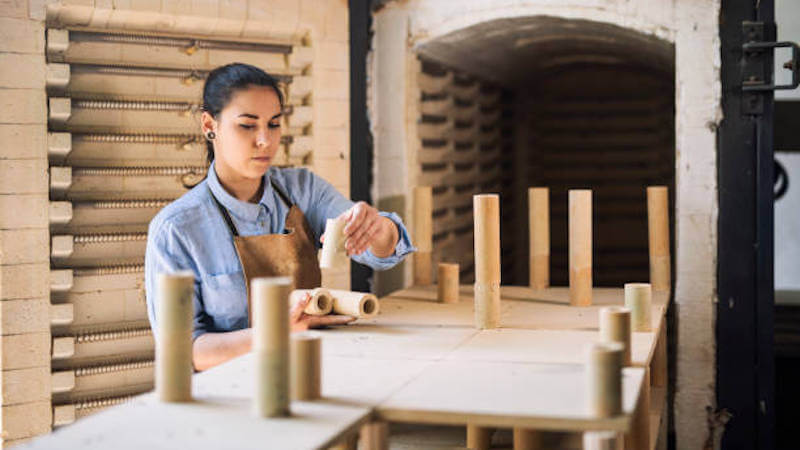
After your pots have been finished, they should be bone-dry before being put into the kiln. If you have an electric kiln, follow the manufacturer’s guidelines. If there’s no controller, the lowest element must be used with the lid open slightly and the windows open.
If you have a fuel-fired kiln, start with the pilots on and the doors and the spyholes sealed. If you want to make an updraft, close the damper completely. However, for downdrafts, leave the damper a little open. If the kiln you are using doesn’t come with pilot lighting, turn on one burner, and turn it down to the lowest possible rate.
Make sure all the dampers and spyholes are opened in addition to having the door opened about 2 inches. You must ensure that the burner remains in good working order. Continually monitor the temperature of the kiln and the burners.
Low Ramp
Once the warm-up has been complete, shut any open doors or dampers to boost heating energy. If the electric kiln has switches, set all the switches to low. Follow the manufacturer’s guidelines for an electric kiln with an adjustable controller.
For a kiln with a fuel source, make sure that all burners are set to a low setting. If your clay is thick-walled, then increase the low ramp time by 4 or 6 hours, based upon the size of your clay.
If you start hearing any noises coming from the kiln, such as popping sounds, decrease the energy of the heat immediately. It’s too high, and your equipment is in danger (this is more likely to occur in the fuel-fired kilns.) Be sure to wedge your clay so that you don’t create air bubbles in your clay that might break in the firing process.
The High and Medium Ramps
You can bring the kiln back to a moderate setting to heat for 2 hours following the lower ramp. Also, if the ceramic ware has extremely thick walls, increasing the ramp to 4 or 6 hours is possible.
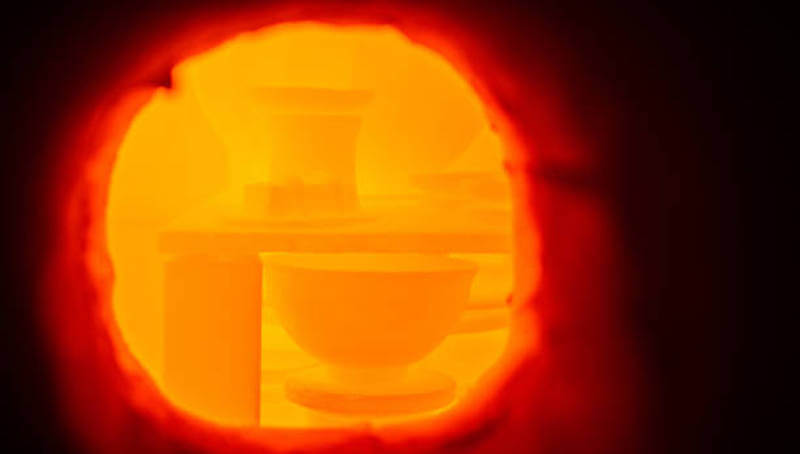
After the medium ramp, the inside of the kiln will be at red heat. This is when you can turn the heat sources to the maximum setting.
For the typical electric kiln, the temperature of bisque is typically reached between three to eight hours following the kiln on its high setting. After that, the kiln’s controller should automatically shut the kiln off.
If you have a fuel-fired kiln, make sure to check the cone packs every 30 minutes. When the first cone starts to tip, you should check it every 15 minutes. When the cone in question is bent at an angle of 90deg, shut down the kiln.
Cooling the Kiln
Once the kiln is at temperature, ensure all heat sources are shut off. Close any doors and allow the kiln to cool at its own pace. In general, you can expect to allow your kiln to cool longer than the temperature was at its highest (minus the overnight warming up).
As a general guideline, when you start the kiln on one day, allow it to cool for a night before unloading it the next day.
Once you are sure that the kiln is cool enough to open the door, do so. If there is any evidence of heat, then place a piece of paper into the crack. However, if it catches alight, the kiln remains too hot to be opened.
Likewise, if the paper doesn’t light, but you hear the sound of pinging, it is too hot to allow you to open it. In any case, shut the door and leave the kiln to cool down for an additional couple of hours. Again, make sure the items are thoroughly cooled before removing them.
What Temperature Should Bisque Firing Reach?
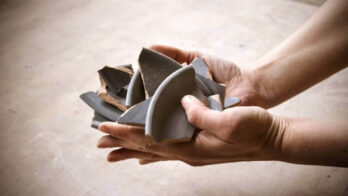
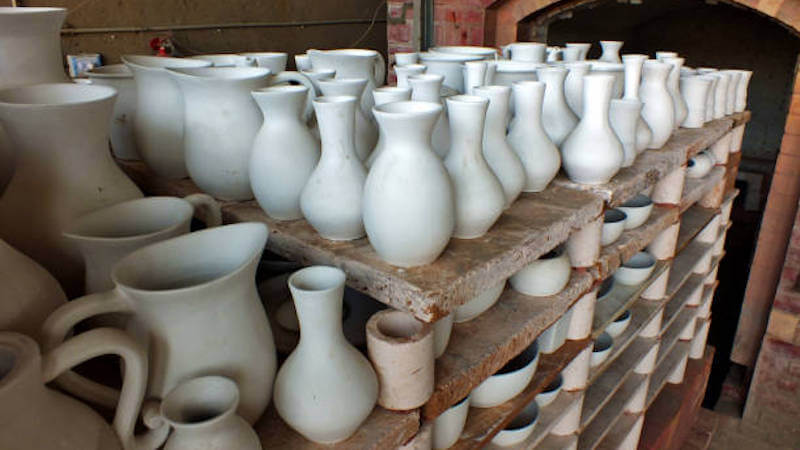
In general, bisque firing is carried out between cone 08 and cone 04 regardless of the temperature of maturation of the clay and the glazes to be used in the future. At cone 08, the ware has been sintered and transformed into a clay material. But the clay body is still very fluid and absorbent enough to permit easy glazing.
However, it is more fragile, and more caution should be taken when working with bisque ware. You can achieve bisque firing until cone 04.
Although this makes bisque pots more durable, it does delay the time of glazing. In addition, it could negatively impact the adhesion of glazes if the material has become tighter, less absorbent, and porous. As the temperature rises, the ware becomes less porous.
How Long Does a Bisque Fire Take?
Generally speaking, the bisque temperature will be reached in three to eight hours for the average electric kiln. Then, the kiln should be shut down automatically by the controller or kiln sitter.
Cone packs in a fuel-burning kiln should be checked every half hour.
Glazing or Painting
It is possible to paint bisque and then fire it, making it water-resistant. The glaze may or may not be food-safe. No food or drink should be served in an unglazed bisque bowl because of the material’s porous nature.
For these purposes, bisque must be glazed. It is acceptable to use acrylic paint to decorate bisque that is not intended to be fired. There’s no need to keep it wet in this situation.
Closing Thoughts
One of the most critical aspects of creating successful pottery is the bisque firing process. There are many different ways to fire pottery, and each one has its benefits and drawbacks. However, it’s essential to understand the basics of this process so you create amazing pottery pieces. If you ever need help with this, please don’t hesitate to reach out. We’re more than happy to help!
Want to expand your pottery insight? Check out our other posts for more tips and tricks!
Keep creating!


Enter your email below to get our FREE beginner friendly tips.
By entering your email address you agree to receive emails from Potters Passion. We'll respect your privacy and you can unsubscribe at any time.